Animation is always an interesting and exciting part of programming. Although visual basic is not designed to handle advance animations, you can still create some interesting animated effects if you put in some hard thinking. There are many ways to create animated effects in VB6, but for a start we will focus on some easy methods.
The simplest way to create animation is to set the VISIBLE property of a group of images or pictures or texts and labels to true or false by triggering a set of events such as clicking a button. Let's examine the following example:
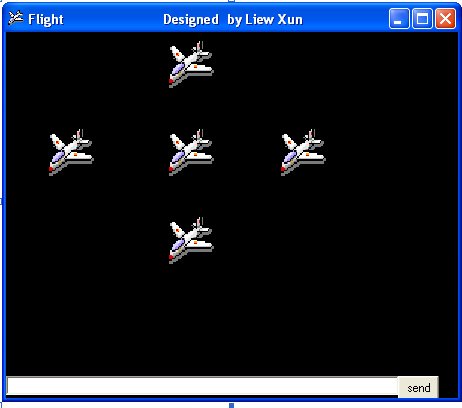
This is a program that create the illusion of moving the jet plane in four directions, North, South ,East, West. In order to do this, insert five images of the same picture into the form. Set the visible property of the image in the center to be true while the rest set to false. On start-up, a user will only be able to see the image in the center. Next, insert four command buttons into the form and change the labels to Move North, Move East, Move West and Move South respectively. Double click on the move north button and key in the following procedure:
Sub Command1_click( )Image1.Visible = False
Image3.Visible = True
Image2.Visible = False
Image4.Visible = False
Image5.Visible = FalseEnd Sub
By clicking on the move north button, only image 3 is displayed. This will give an illusion that the jet plane has moved north. Key in similar procedures by double clicking other command buttons. You can also insert an addition command button and label it as Reset and key in the following codes:
Image1.Visible = True
Image3.Visible = False
Image2.Visible = False
Image4.Visible = False
Image5.Visible = False
Clicking on the reset button will make the image in the center visible again while other images become invisible, this will give the false impression that the jet plane has move back to the original position.
 | | ||
You can also issue the commands using a textbox, this idea actually came from my son Liew Xun (10 years old). His program is shown below:
 Another simple way to simulate animation in VB6 is by using the Left and Top properties of an object. Image.Left give the distance of the image in twips from the left border of the screen, and Image.Top give the distance of the image in twips from the top border of the screen, where 1 twip is equivalent to 1/1440 inch. Using a statement such as Image.Left-100 will move the image 100 twips to the left, Image.Left+100 will move the image 100 twip away from the left(or 100 twips to the right), Image.Top-100 will move the image 100 twips to the top and Image.Top+100 will move the image 100 twips away from the top border (or 100 twips down).Below is a program that can move an object up, down. left, and right every time you click on a relevant command button. 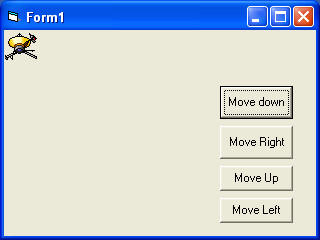
|
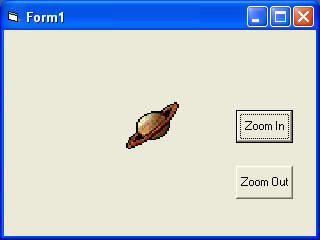
The fourth example let user magnify and diminish an object by changing the height and width properties of an object. It is quite similar to the previous example. The statements Image1.Height = Image1.Height + 100 and Image1.Width = Image1.Width + 100 will increase the height and the width of an object by 100 twips each time a user click on the relevant command button. On the other hand, The statements Image1.Height = Image1.Height - 100 and Image1.Width = Image1.Width -100 will decrease the height and the width of an object by 100 twips each time a user click on the relevant command button
The Code
Private Sub Command1_Click()
Image1.Height = Image1.Height + 100
Image1.Width = Image1.Width + 100
End Sub
Private Sub Command2_Click()
Image1.Height = Image1.Height - 100
Image1.Width = Image1.Width - 100
End Sub
Image1.Height = Image1.Height + 100
Image1.Width = Image1.Width + 100
End Sub
Private Sub Command2_Click()
Image1.Height = Image1.Height - 100
Image1.Width = Image1.Width - 100
End Sub
You can try to combine both programs above and make an object move and increases or decreases in size each time a user click a command button.
http://www.vbtutor.net/vb6/vbtutor.html
No comments:
Post a Comment